Proxmox setup guide

What is Proxmox??.
Proxmox VE is an open-source server management platform for your enterprise virtualization. It firmly incorporates KVM hypervisor and LXC, software-defined storage, and networking performance on a single platform. With the incorporated web-based user interface you can quickly handle VMs and containers, extremely offered clusters, or the incorporated disaster healing tools with ease. Proxmox VE is under the GNU Affero General Public License (V3), there is simple membership structure for those who are interested in more than neighborhood assistance. Simplicity is excellent advantage of PVE over other virtualization solutions. even a newbie user can setup and install it within minutes. And most importantly since it is operating on Debian, all Linux experience apply.
Proxmox executes likewise non-Docker, container based virtualization with LXC. It supplies a little wrapper called pct which I can utilize to connect to LXC containers after ssh to host, by simply typing ‘pct get in 108’, where 108 is ID of the container. Command line can be used to handle VMs, (QEMU ‘qm’ commands, i.e. qm stop 105).
Proxmox VE provides for live migration-- the movement of a virtual machine or container from one cluster node to another without any interruption of services. The cluster file system (" pmxcfs") is a database-driven file system for storing setup files, replicated in genuine time to all cluster nodes utilizing Corosync. If your mind not clear about how proxmox really works than this architecture diagram will help you ⤏.
Minimum Requirements.
- CPU: 64bit (Intel EMT64 or AMD64).
- Intel VT/AMD-V capable CPU/Mainboard (for KVM Full Virtualization assistance).
- Minimum 8GB RAM (Recommanded 16+ or as far as you go (There is no end of cool selfhosted things!)).
- Hard Drive.
- One NIC.
Note: If you desire to compare proxmox with any other virtualization option or looking for any specific feature. (Compare Proxmox VE vs VMware vSphere, Hyper-V, XenServer).
Other Note-- For homelab you can use old PC, laptop computer, any Mini PC like (Intel NUC, Hp, Lenevo, Dell Mini PC Clients (they are around 200-- 300 $)).
Enough of introduction now. Let’s install this thing.
Installation.
- Step1-- Pick You USB (8GB Size ).
- Step2-- Download [Proxmox VE ISO] (Get the free Proxmox VE ISO installer).
- Step3-- Download [balenaEtcher] (balenaEtcher - Flash OS images to SD cards & USB drives) or [Rufus] (https://rufus.ie/).
- Step4-- Put USB into your PC/Laptop & utilize any among booting tool.
- Step5-- Put your USB into you Bare Metel machine (Make sure to config boot order) and its shows you a start screen of proxmox.
Note-- If you are utilizing Rufus make sure usage ‘DD mode’.

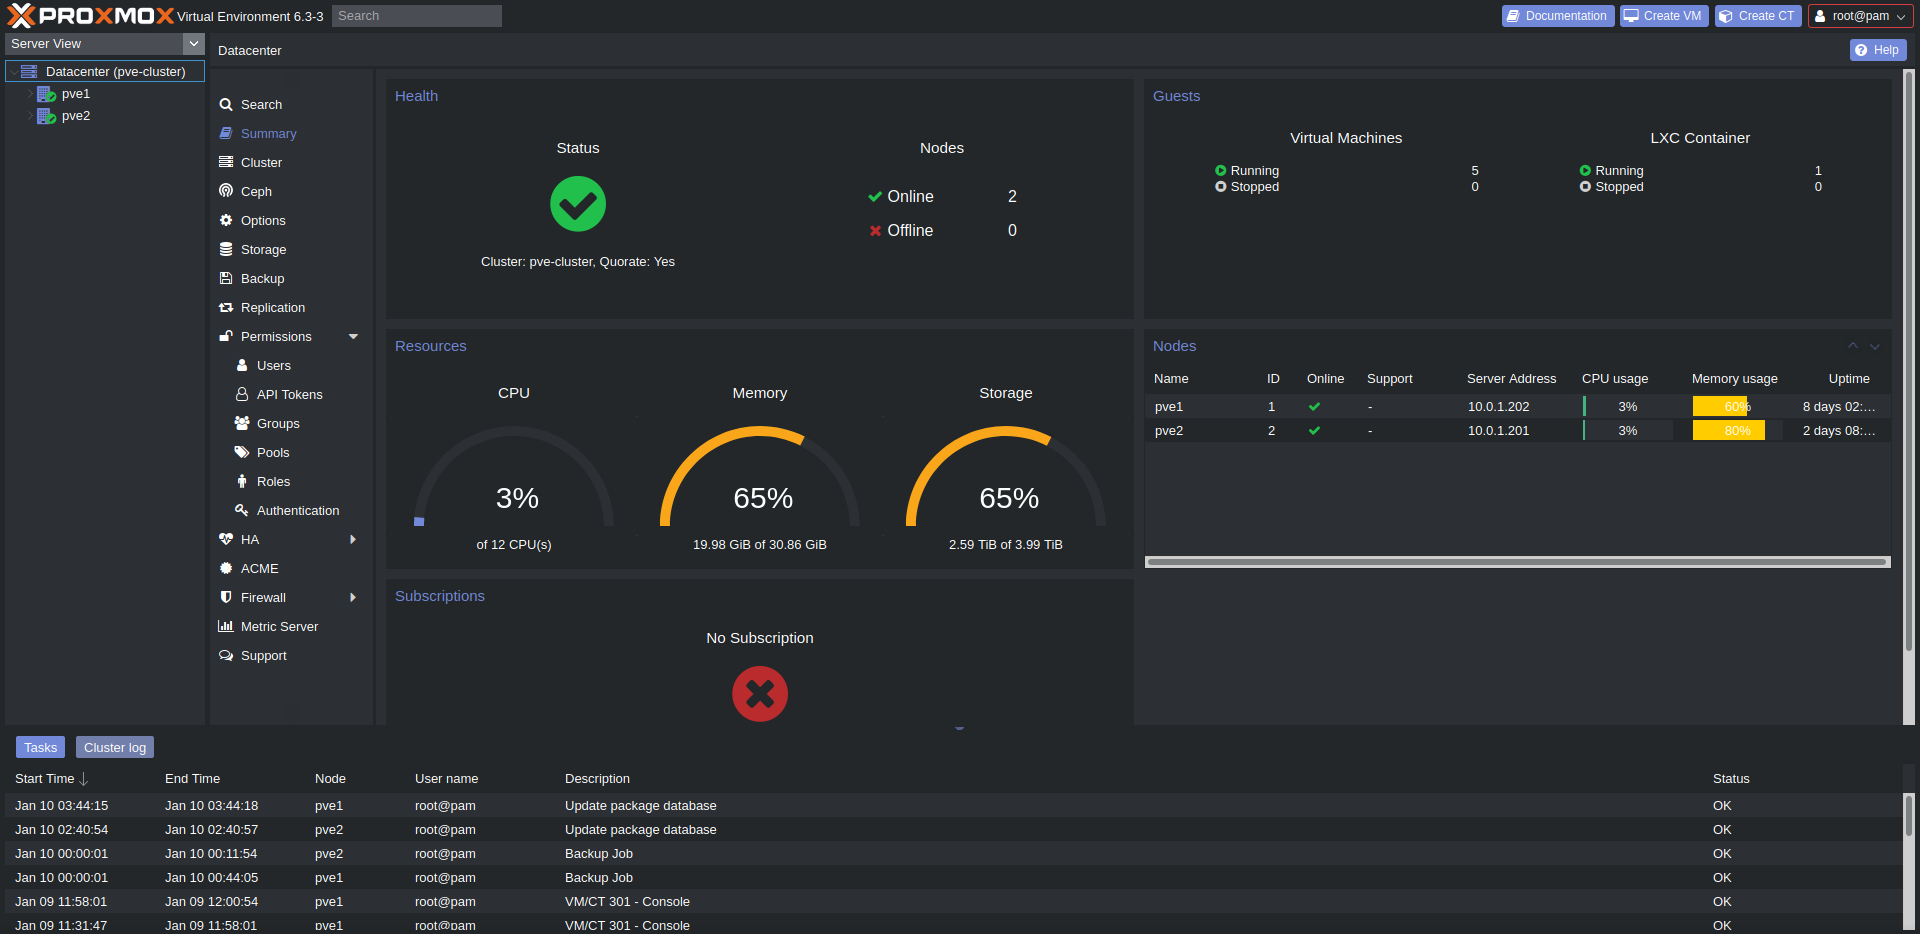
Proxmox Dashboard.
Post Installation Tasks.
- Proxmox Installer show Private IP (when installing ), now go to that IP ([ https://IP:8006] (https://ip:8006/)) and utilize your qualifications (You set when setting up) and BANG ⤏ You will see your own mini information center console!
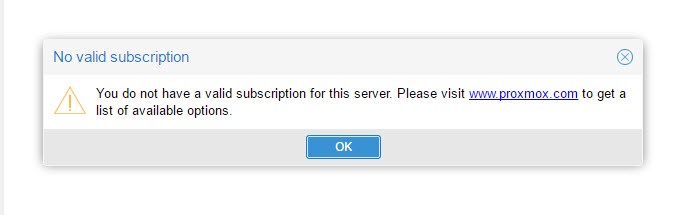
Task-- 1: Remove Subscription Message.
Setup Community Repository ** Note **-- Now you can update your proxmox in future.
TASK-- 3 Setup a Dark Theme.
Proxmox Dark ThemeNote---- Thank You Creator (So much relief to the eyeballs! ).
Add Storage Drives.
ZFS Pools.
It is advised by proxmox and other individuals to use ZFS Pools for Storing your VMS (It gives you more efficiency and Redundancy ).
ZFS Pools Configuration ## LVM.
No worries, if you have single disk (Use LVM ).
Proxmox LVM Setup.
Backup & Restore VM’s.
Backup and Restore VM’s.
Monitor Proxmox with Grafana and InfluxDB.
Monitor Proxmox

Extra Tip-- Setup a Minimal Docker Client.
Proxmox VE is an open-source server management platform for your enterprise virtualization. Proxmox executes likewise non-Docker, container based virtualization with LXC. Proxmox VE provides for live migration-- the motion of a virtual device or container from one cluster node to another without any disturbance of services. If your mind not clear about how proxmox really works than this architecture diagram will help you ⤏.
Note: If you desire to compare Proxmox with any other virtualization solution or looking for any particular feature.